Custom Jewelry For Any Occasion…
Signe's Metal Clay World
Latest works, process, sucesses, failures, discoveries and everything in between...What exactly is Metal Clay?
If you have questions regarding prices or general inquiries and have trouble accessing my online shop, please contact me here
Mixed Metals with Hadar Jacobson
My recent experience learning to make mokume gane style jewelry with the great Hadar Jacobson...
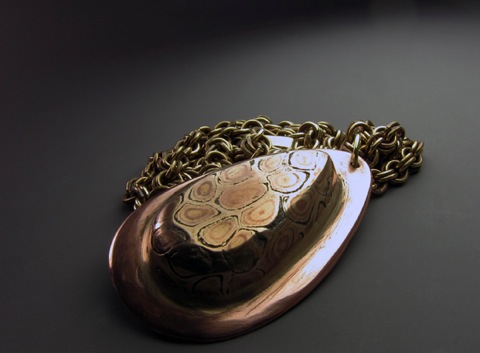
Back in August, I took a class from Hadar Jacobson that I have been wanting to write about for some time. Finally I'm getting around to it! The class was entitled "Patterns of Color in Metal Clay". I had a great time although I did encounter some problems along the way. Eventually I created some pretty cool stuff!
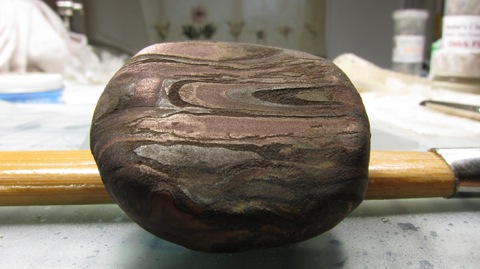
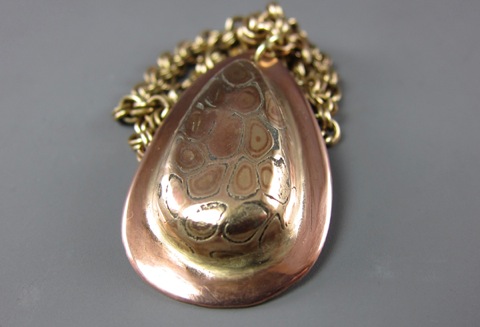
Above is the one piece I was able to complete in the class. I took the rest home to try to complete on my own. I was impressed with how effective the patterning was. With some more practice and refinement, I could see it having a place in my jewelry line.
As many others have said before, and I will repeat, Hadar's Clays are ridiculously easy to work with. They are so pliable and have a long working time.
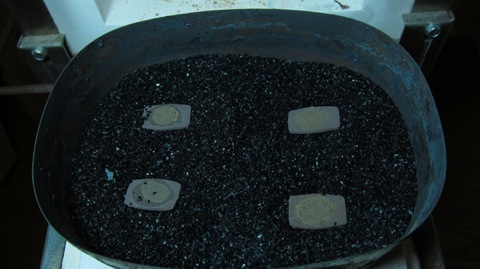
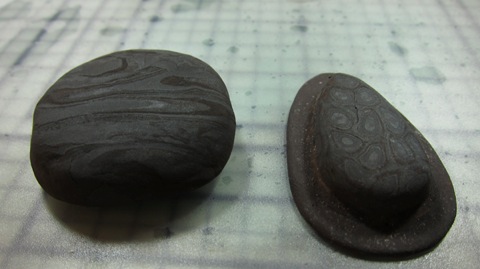
Once I got home I attempted my first test. I wanted to work in all four materials so I used various combos of copper, bronze, white bronze and steel. This was a photo after the first firing of 1100 degrees F for 2 hours (set in a cold kiln and ramped up to temp before timing). All went well. I blew off the ash layer and pulled out the pieces from the carbon for the photo.
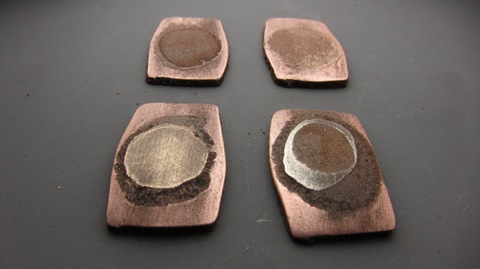
This second firing was done in the same conditions but at a temp of 1325 degrees F for 2 hours. After they cooled, I attempted to sand them with my rotary tool and could immediately tell that all the steel and the bronze in at least three of the pieces appeared to be under fired as they were crumbly and dark and refused to get any shinier as I continued to sand.
I attempted a second test with all four metals but this time, during the second phase of firing, I raised the temp to 1335 degrees F. This only seemed to help a little bit but overall, the steel still was not sintered. In fact, a portion of it broke away as I was sanding. Also, the additional heat caused the white bronze to bubble slightly, so obviously that temp was not so great for that metal. I could not figure out what was going on because I was following the schedule exactly as written on Hadar's site. I finally emailed her o figure out what the problem was. Finally we rooted out the source of the problem. I had purchased the wrong Steel Clay!
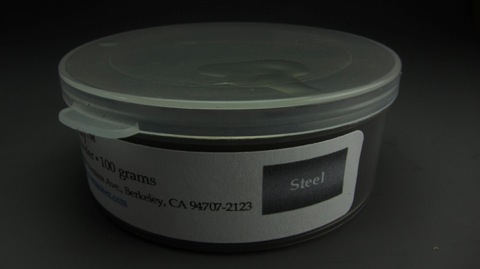
Looking back, I realize the mistake I made. I know that others will not have the same issue as I did as Hadar has since discontinued this clay. Unfortunately, I didn't understand the difference between the steels available before taking the class; I simply wanted to experiment with the four color striations. In order to do this, you definitely want to get the Pearl grey steel or the Pearl Grey Steel XT. Funny things can happen out of these "mistakes" though and since I already had some pieces made with the steel I decided to fire them as is and see if there was any way to rescue them or just see what would happen.
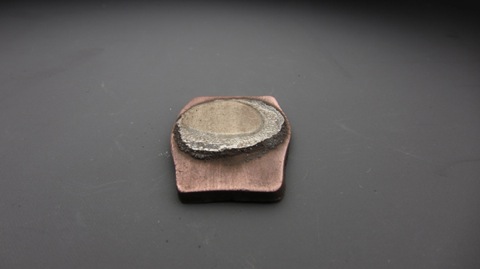
So far so good. A few new cracks formed, so I filled them with some more clay and put them in for the second round of firing. I opted for the 1325 F for 2 hours setting since I was anticipating sanding out the a bit of the steel layers anyway. I would rather have all the other metals look their best then worry about what happens to the steel.
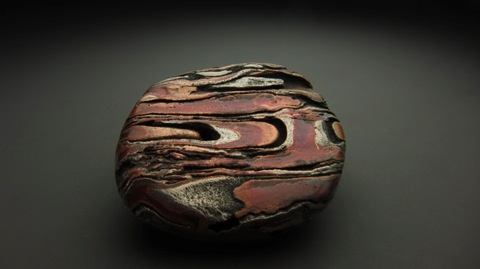
For the final steps I sanded, polished and added some baldwin's patina to highlight the color differences in the metals. During the polishing process virtually all the steel fell away revealing these fascinating dry riverbeds. More importantly, the piece was still strong and intact! Now there are even some places where you can see through from one side to the other.
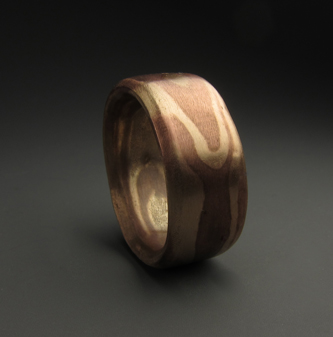
For all the pieces you see here, I got the effects using similar techniques to extruding polymer clay to get various patterns. By pushing stacks of metal clay layers through an extruder you can get canes of various patterns that resemble that wood grain effect. The more you cut and stack them, the more elaborate they can get. You can do long thin strips or little end cuts pushed into a form (which is what I used to create this). The possibilities are endless!


