Custom Jewelry For Any Occasion…
Signe's Metal Clay World
Latest works, process, sucesses, failures, discoveries and everything in between...What exactly is Metal Clay?
If you have questions regarding prices or general inquiries and have trouble accessing my online shop, please contact me here
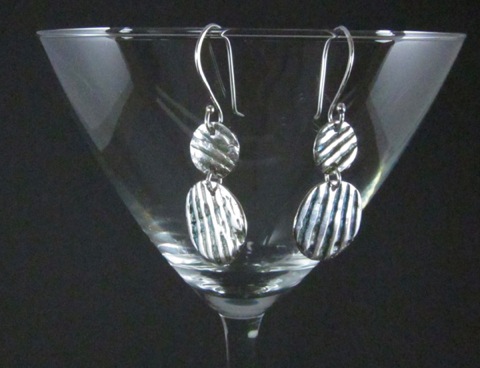
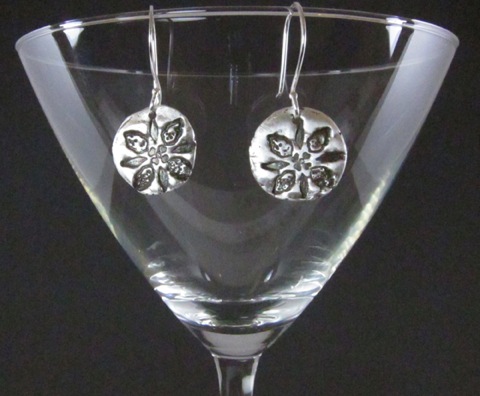
How to Make Dangle Earrings From Metal Clay
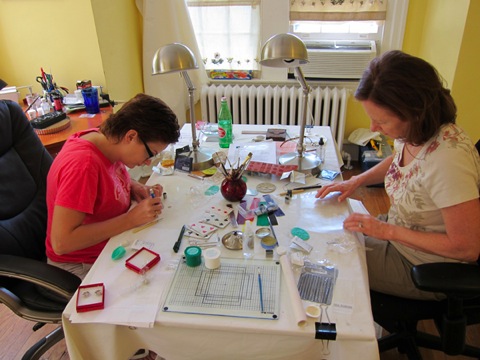
Learn about my first Metal Clay Teaching Experience! See student's photos and the studio. Read about the complications and the successes! Please send me your thoughts :)
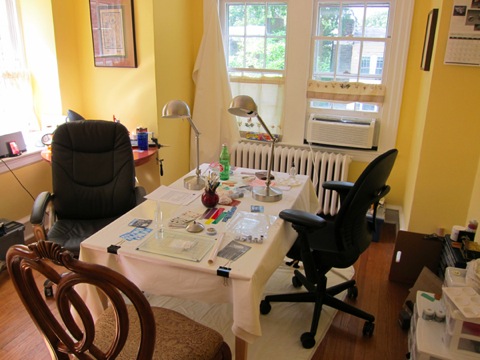
Soldering and metal metalworking station (not shown) behind the chair on the left
This weekend was not my first time teaching but it was my first time teaching metal clay to anyone. I was nervous, but fortunately I was able to test my skills with people to whom I'm familiar and can trust to give me honest feedback. It was such a valuable learning experience for everyone in the room, but I felt that I was the luckiest of all. I got so much out of my time with these great women that will really help propel me forward in my search to become a successful instructor of Metal Clay. Thanks guys!
Among other things, I discovered that my kiln is taking two hours to ramp up to 1650F at full speed! Of all the things I spent preparing and agonizing over, I did not think this over very clearly. That was a big issue and if I decide to move forward with teaching in the future, I will definitely have to consider investing in my own kiln. This one has been very good to me in the interim, but I always knew the time would come.
I also need to pace myself better. I've been to other classes and I know what to work toward and I can tell what I'm doing wrong but it is definitely an interesting challenge when I know that I, myself, struggle with time and projects. This is a constant, ever-present battle with myself that I will have to work on but I strive to get better at.
I think both students found the material more challenging to work with than they anticipated, but they caught on really quickly and made some beautiful pieces, having never touched the stuff before! Don't forget to scroll to the bottom to check them out :)
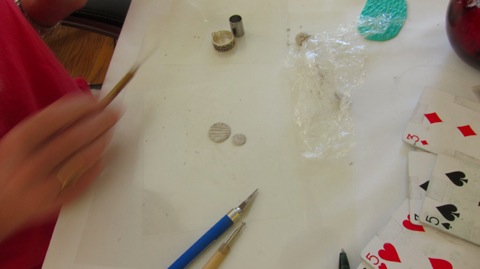
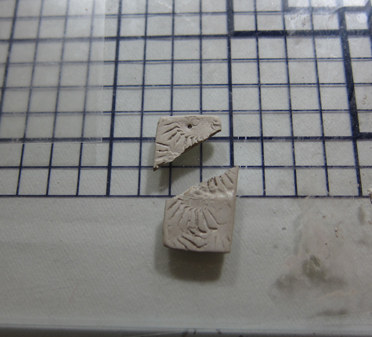
Andrea brought a shell with her and used that as her texture
Andrea had some additional silver so she decided to make a pendant. Unfortunately it broke which gave me an opportunity to show her how the metal clay can be used to mend itself. We wet both sides of the break with distilled water and let it rest for a few seconds, then we used the Art Clay slip in a nice uniform line on one side of the crack and pushed the two sides together. We used water on a fine brush to blend the slip on either side of the crack and allowed it to dry before flipping it and doing the same to the other side. We would add a little more slip in places if it seemed necessary. Then we fired the piece as normal and used slightly more aggressive sanding tools than we would have if we were just sanding during the greenware stage. I found that many of the pin tool sanders were useful at this stage. With the level of sanding the pin tools had provided, we could move to the sanding pad series sanders to work it down to the desired finish.
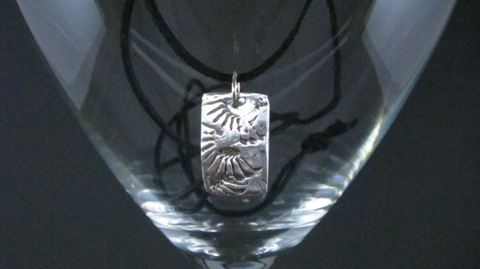
Yay! All better :)